 29. June 2026
HOW TO FIX AIR LEAKS AROUND ELECTRICAL OUTLETS.
Air leakage through electrical outlets and switches is among the least noticed sources of heat loss in a home. Research indicates that outlets and switches alone may be responsible for at least 5% of the total energy loss from your home.
Why electrical outlets and switches leak air
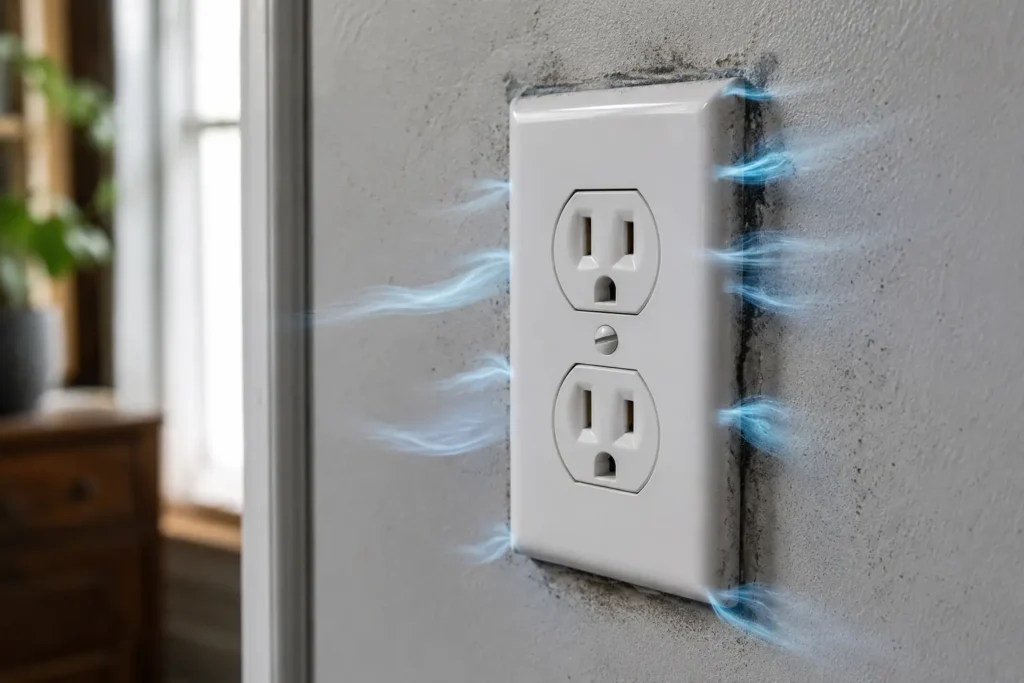
Electrical boxes are installed in openings cut into the drywall. If the surrounding area is not properly sealed, small gaps around the edges can allow air to leak through. Entry points for wires, called knockouts, create additional openings that can allow unwanted air leakage through the wall. When indoor air escapes through these gaps, it creates pressure differences that draw outdoor air into the home through other leaks. Even without noticeable drafts, energy loss can be significant.
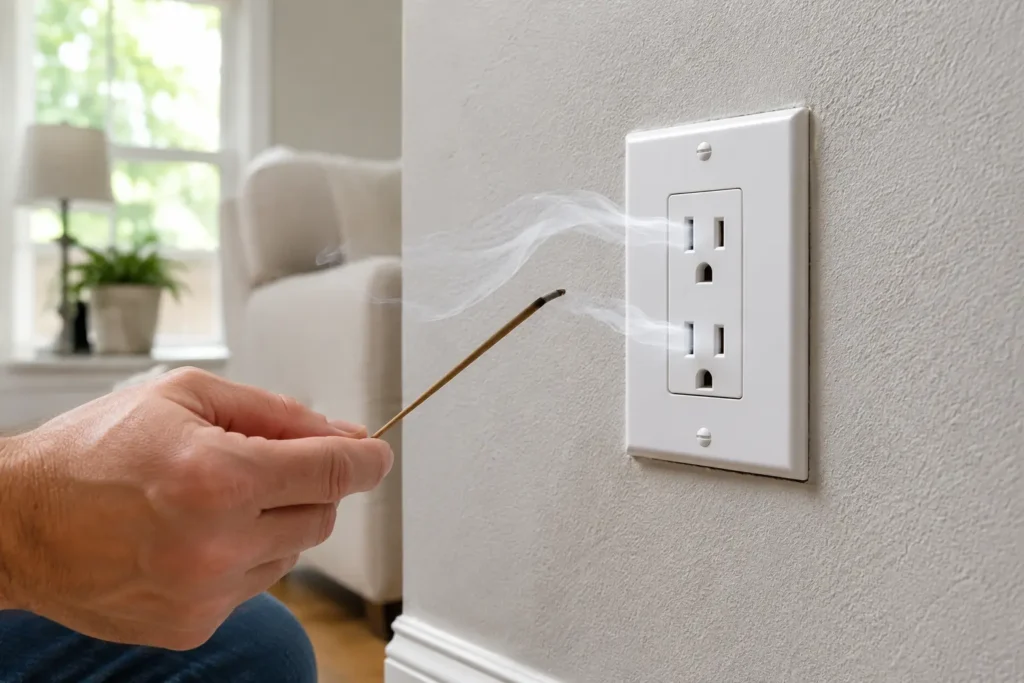
One simple way to check for air leaks is to hold a lit incense stick near an outlet on an exterior wall during a windy day. If the smoke moves toward or away from the outlet, air is leaking through it. Dust stains around the outlet cover can also indicate air leakage, as moving air carries dust through small gaps.
Items needed to seal electrical outlets
To seal electrical outlets effectively, you will need a few basic materials and tools:
- Foam outlet gaskets: These are pre-cut foam seals designed for outlets, switches, and decorator-style plates. Installed behind the cover plate, they create an airtight seal between the wall and the receptacle.
- Flexible caulk: This is ideal for sealing narrow gaps between the electrical box and drywall. Its flexibility helps prevent cracking if the box shifts slightly over time.
- Latex-based expanding foam: They are best for larger gaps around the outside of the electrical box. It expands minimally, cleans up with water, and can be painted once dry.
- Child safety outlet caps: It is plastic plugs that fit into unused outlet slots to reduce airflow through the receptacle.
- Screwdriver: This is for removing and reinstalling cover plates.
Important: Never apply expanding foam inside an electrical box or directly around wiring. Seal only the outside perimeter of the box.
How to seal electrical outlets step by step
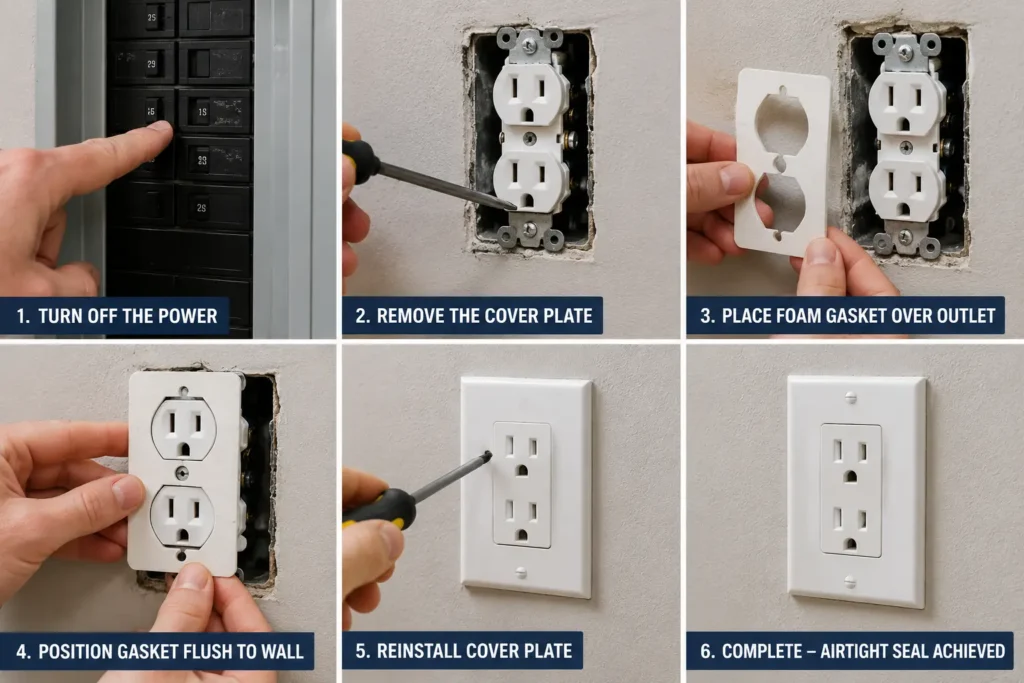
Step 1: Turn off the power
Switch off the appropriate circuit breaker before removing any outlet or switch cover. This protects you from accidental contact with live electrical components.
Step 2: Remove the cover plate
Unscrew the cover plate and inspect the area around the electrical box. You’ll often find visible gaps between the box and the surrounding drywall.
Step 3: Seal the gaps around the box
Choose the appropriate sealant based on the size of the gap.
- Thin gaps: Apply a bead of flexible caulk around the box.
- Larger gaps: Apply latex-based expanding foam around the outside of the box, avoiding contact with wiring. Once cured, trim any excess before replacing the cover plate.
Step 4: Seal gaps around the outlet
Seal air leaks around the outlet cover plate with a foam outlet gasket. Punch out the correct opening in the gasket for your outlet or switch, then place it over the receptacle so it sits between the wall and the cover plate. When you reinstall the cover plate, it compresses the gasket to create an effective air seal. Once installed, the gasket is completely hidden.
Which outlets should you seal first?
Focus on outlets and switches installed on exterior walls. These are the most common sources of air leakage because they connect directly to wall cavities exposed to outdoor temperatures. Interior wall outlets generally contribute far less to overall air leakage.
Conclusion
One of the easiest and cheapest ways to make your house more energy efficient is to seal any gaps around wall outlets and switches. This can be done using low-cost materials and takes only a few minutes per outlet.
Sources: