 02. July 2026
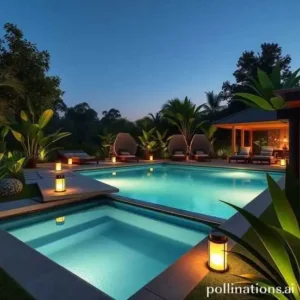
HOW TO CLEAN AND MAINTAIN POOL DECKING.
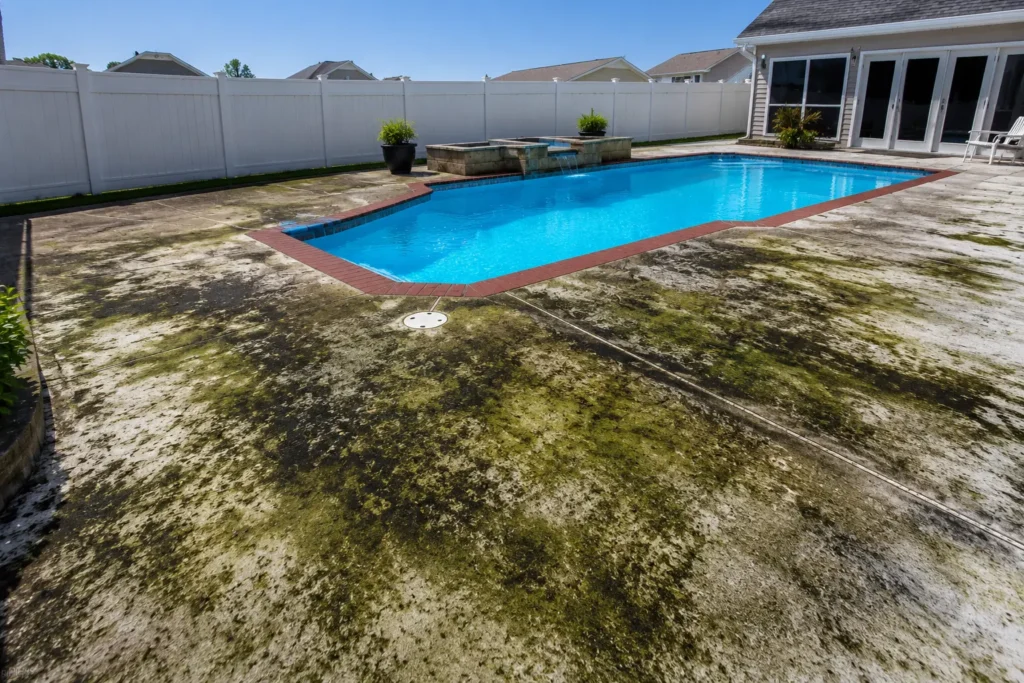
A dirty pool deck is more than an eyesore. Algae, mold, and biofilm build up quickly, especially in warm, humid climates or shaded areas, creating a serious slip hazard. Regular cleaning removes this growth, improves safety, and helps extend the durability of your deck’s coating or sealant.
Why do pool decks get dirty so quickly?
Pool decks are constantly exposed to moisture, frequent use, and organic debris. If the deck is located beneath trees or in a shaded area, moisture tends to linger longer, creating favorable conditions for algae and mold growth. Even decks in full sun can accumulate dirt, pollen, leaves, and other contaminants over time. In warm, humid climates, heavy buildup can return within two years of a professional cleaning.
Besides affecting appearance, this growth creates a slippery surface that increases the risk of falls. Fortunately, both problems can be solved with the same cleaning process.
Materials needed for cleaning
Before you begin, gather the following materials:
- Sodium hypochlorite (bleach): Mix to approximately 20% by volume (about one part bleach to four parts water).
- Surfactant or dish soap: It helps the solution cling to the surface, improving cleaning effectiveness and preventing it from drying too quickly.
- Pump-up sprayer or 12-volt pump: Used for applying the cleaning solution evenly.
- Pressure washer: A unit rated around 2,500 PSI with a surface cleaner attachment is ideal.
- Garden hose or low-pressure wand: Used for rinsing the deck.
- Backpack or pump sprayer: Used for applying a post-treatment if desired.
Step 1: Protect surrounding plants
Before applying any bleach solution, thoroughly soak nearby plants, grass, and landscaping with clean water. Wet foliage absorbs less bleach, significantly reducing the chance of chemical damage. If the cleaning takes an extended period, re-wet the plants as needed.
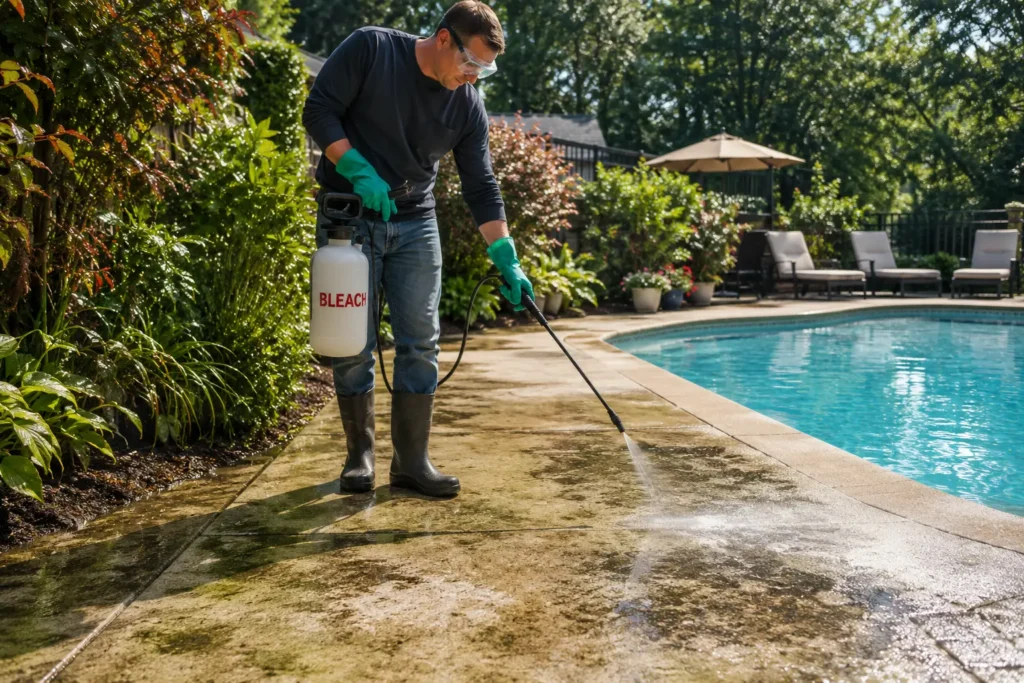
Step 2: Apply the cleaning solution
Mix the bleach solution to approximately 20% strength and add a cleaning detergent to help the solution spread evenly and stay on the surface longer. Without soap, bleach evaporates more quickly and becomes less effective.
Apply the solution evenly across the deck using a pump sprayer, treating one section at a time. Areas with heavy black mold or stubborn algae may require an additional application or a higher concentration of the recommended cleaning solution.
Step 3: Leave the solution for a longer time
Let the cleaning solution remain on the surface for 10 to 15 minutes. Keep it wet by reapplying if necessary, but do not allow it to dry. This allows the bleach to kill algae, mold, and biofilm before pressure washing. In many cases, you’ll notice stains and organic growth beginning to disappear during this stage.
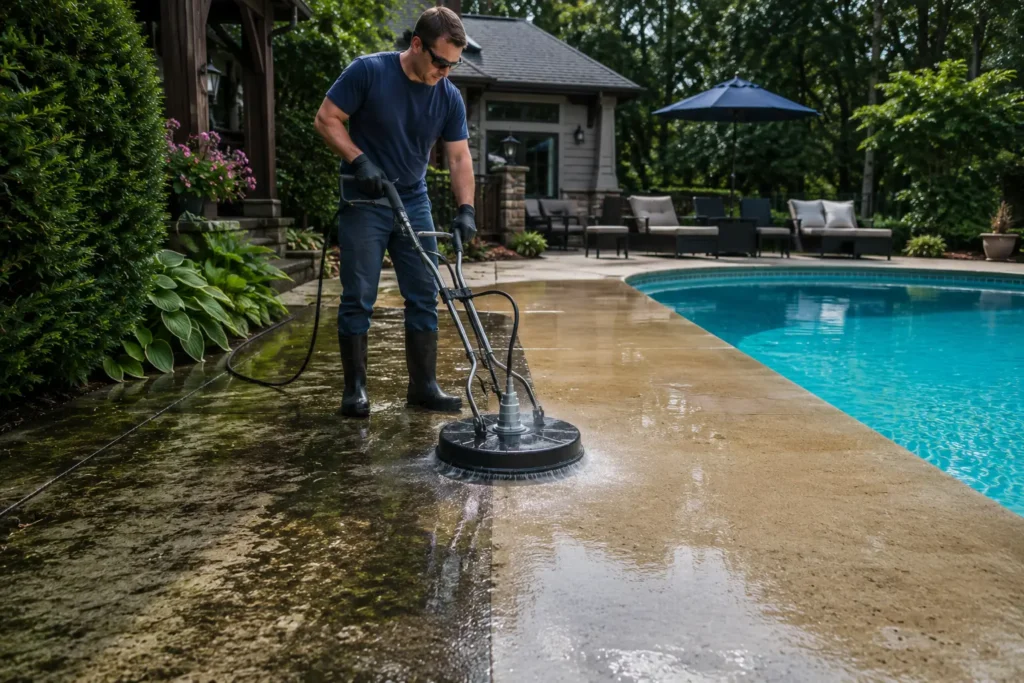
Step 4: Clean using the correct pressure
Use the lowest pressure needed to rinse away the loosened dirt, algae, and cleaning solution. For most concrete pool decks, 1,500 to 2,500 PSI is sufficient. Decorative concrete, sealed surfaces, and pavers generally require lower pressure to avoid damage. Excessive pressure can etch concrete, remove protective coatings, damage decorative finishes, and wash out the joints between pavers. Let the cleaning solution do the hard work, and use the pressure washer primarily to rinse the surface clean.
Recommended settings:
- Use a pressure washer rated around 2,500 PSI.
- A surface cleaner attachment provides more even cleaning while reducing the effective pressure applied to the surface.
- Flagstone, Austin stone, and similar natural stone surfaces can generally tolerate 2,500 PSI if they are in good condition.
For coated or painted pool decks, use even lower pressure. High-pressure washing can strip paint, damage coatings, and reduce their effectiveness. A chemical-first approach delivers better results while preserving the surface.
Step 5: Rinse thoroughly
Rinse the entire deck with a garden hose or low-pressure wand, directing runoff away from the pool whenever possible.
Do not allow loosened dirt or cleaning residue to dry on the surface, as it can settle back onto the deck and become more difficult to remove. Inspect the deck after rinsing and touch up any missed areas before the surface dries.
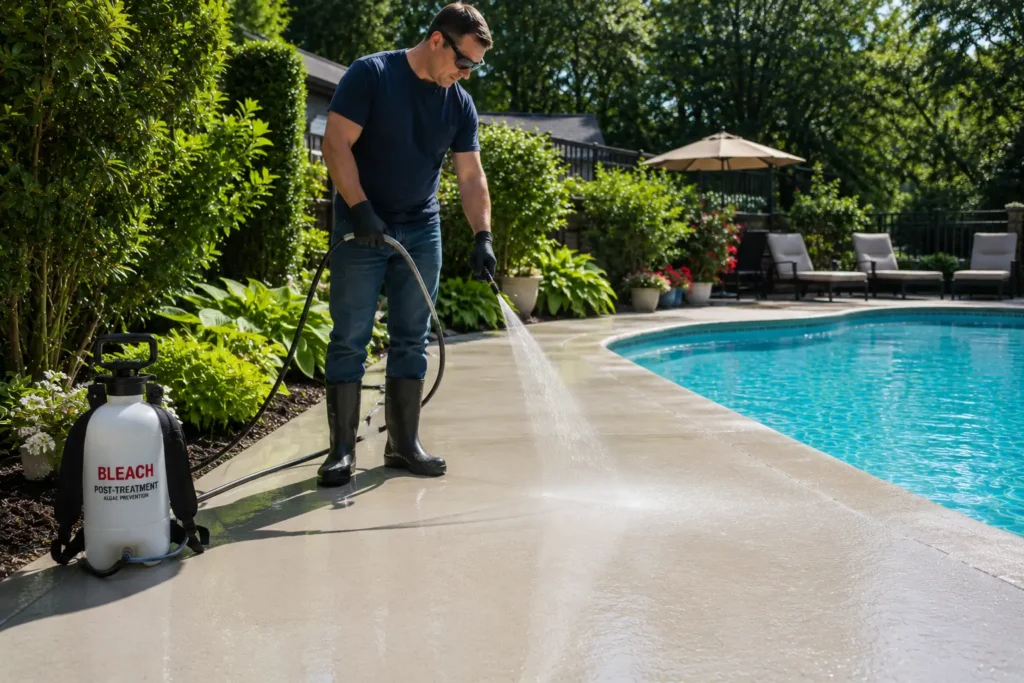
Step 6: Apply a post-treatment (recommended)
After cleaning, mix 1 cup of liquid bleach with 5 to 10 cups of water and apply it to the deck. This helps kill any remaining algae, mold, and other organic growth, slowing their return. If you’re using a commercial biocide instead, follow the manufacturer’s mixing and application instructions.
If you plan to seal the deck, complete the post-treatment first to ensure the surface is thoroughly cleaned before applying the sealer.
How often should you clean pool decking?
Cleaning frequency depends on climate and environmental conditions.
- Warm, humid climates: Every 2 to 2.5 years, with occasional spot treatments between cleanings.
- Drier climates or decks with less shade: Every 3 to 4 years is often sufficient.
- Heavily shaded areas: May require more frequent maintenance because algae develops faster.
Routine cleaning not only improves appearance but also delays expensive resurfacing or recoating.
When should a pool deck be recoated?
Cleaning reveals the true condition of the existing finish. After washing, inspect the surface for:
- Cracks
- Chips
- Uneven color
- Areas where the coating has worn away
Minor wear may only require routine maintenance, while widespread peeling or cracking usually indicates it is time for a new coating. Even then, thorough cleaning remains an essential first step to ensure proper adhesion.
Conclusion
Cleaning a pool deck is most effective when you follow the proper sequence. The most common mistake is using high pressure instead of the right cleaning solution. When done correctly, this process removes slippery algae, restores the deck’s appearance, and helps protect its coating or sealant while reducing the need for costly repairs.
Sources: