


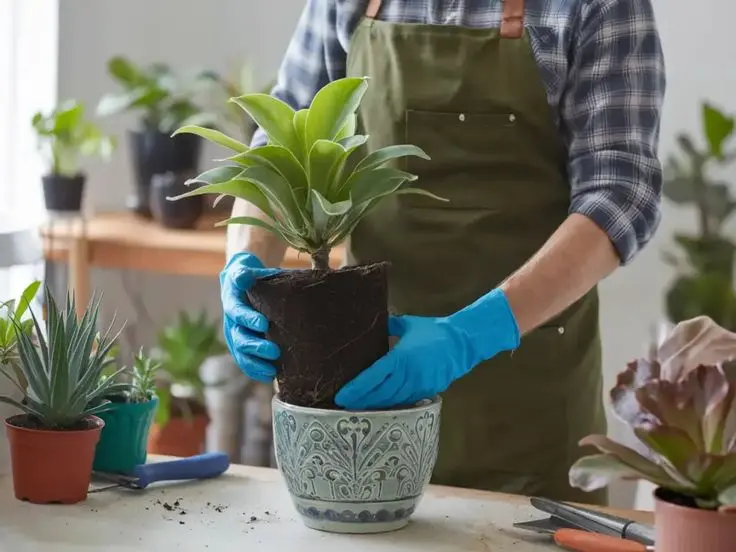

Repotting a house plant involves relocating it from its previous pot to a new one. This can prove to be quite a challenging task for gardeners who grow their plants indoors, because they fear harming their roots or shocking the plants during the procedure. Nonetheless, the most basic rule to observe is simply not to disturb the roots.
When to repot plants?
Repot plants in the spring and summer. These are the active growth periods. Identify these three main indications when your plant needs repotting:
- Regular watering: The soil dries up extremely fast.
- Visible roots: The roots grow beyond the drainage holes.
- Crowded roots: The plant becomes difficult to remove from its pot because the roots have filled most of the available space inside the container.
How to repot indoor plants step-by-step
Step 1: Dry out the soil
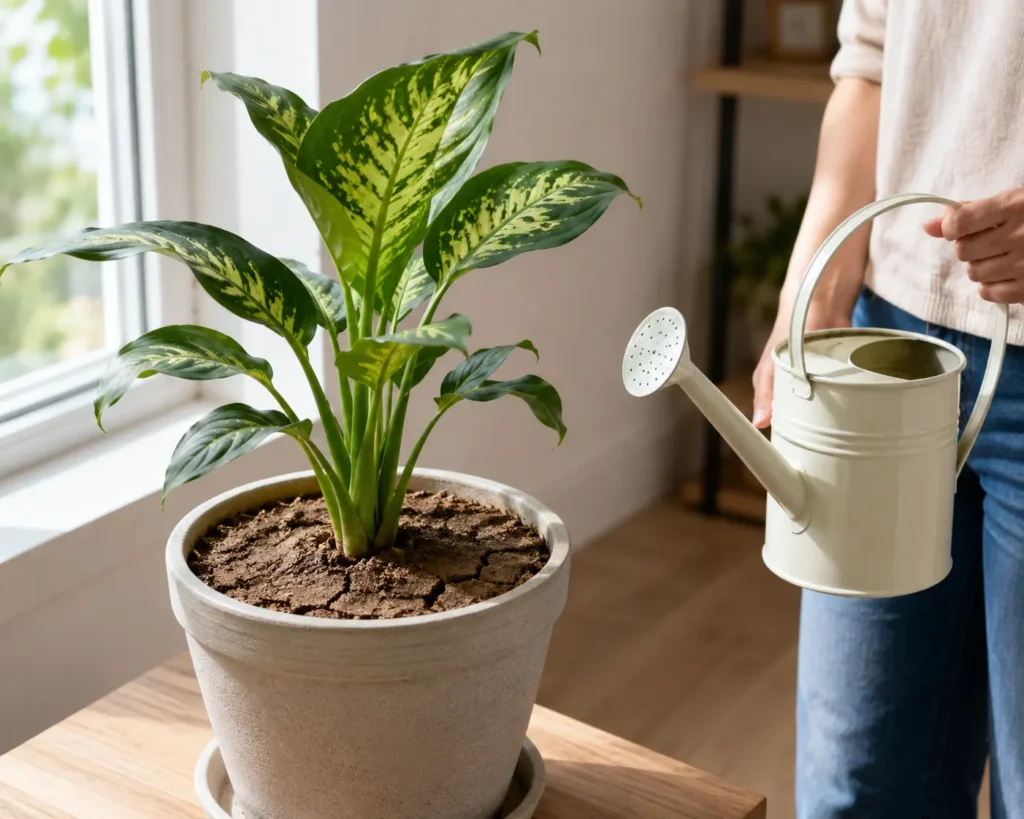
Stop watering your plant two days before transplanting it. Dry soil contracts, making it easier for the plant to come out without damaging the roots.
Step 2: Select the right pot and soil
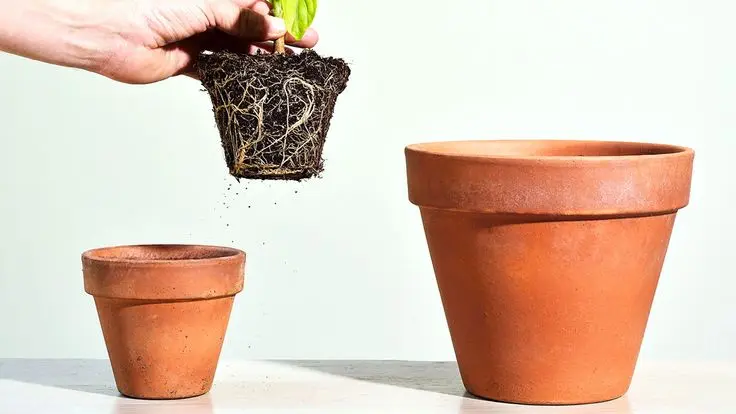
Get a new pot that is well-draining, meaning it should have holes in its bottom. Decide on the right pot size according to the kind of plant you have. For fast-growing plants, select a pot two to three inches bigger than your previous pot. For slow-growing plants, get a pot one to two inches bigger than the previous pot. Use regular soil for indoor plants with some perlite, because it helps prevent compacted soil and allows roots to receive more oxygen
Step 3: Remove the plant safely
Tilt the pot sideways and gently squeeze the sides of the plastic container or lightly tap the sides of rigid pots (such as ceramic or terracotta) to loosen the root ball. Hold the plant gently near the base and slowly lift the plant and attached soil out of the pot
Step 4: Untangle the root coil
Leave the root ball intact (A root ball is the clump of roots and soil that stays together when a plant is taken out of a pot or lifted from the ground). So that the plant does not undergo too much shock. But if there is a case where roots are growing around the bottom or sides of the root ball, carefully loosen only the outside roots using your fingers. Dust off some of the old soil from the very top of the plant.
Step 5: Repotting the plant in the new container
Add fresh soil to the bottom third of the new pot and lightly tap the container so the soil settles. Place the plant in the middle of the new pot at a similar level as it was positioned in its previous pot, where the bottom of the plant is one inch away from the top of the pot.
Add fresh soil into the gaps around the sides to eliminate any open spaces. Tap the new pot gently so that the soil settles and eliminates air pockets. Gently press down the soil around the top without pressing hard on it. Leave a one-inch gap above the soil for watering purposes.
Post-Potting Care
Water the plant immediately after you finish potting it. This will help the plant settle into the soil. Transfer the plant to a shady place for two days. Keep the plant in a shaded area or a location with indirect light during this period. After one or two days, return the plant to its normal location and water only when the top layer of soil becomes dry.
Conclusion
Repotting requires practice. Some plants take time to acclimate, while others simply don’t make it. This is all part of the gardening process. Be gentle and keep trying with your indoor plants.
Sources