


Your HVAC coils are the unsung heroes of indoor comfort. When they become dirty, they can quickly compromise your comfort and force your system to work harder. This guide will walk you through everything you need to know about keeping your coils clean and your HVAC system running at peak performance.
Why and When to Clean Your HVAC Coils
Your HVAC system’s coils are responsible for moving heat. When they get dirty, they can no longer do this job efficiently, forcing your system to work harder. This is why you need to clean them. You should clean your coils when they show signs of a dirt buildup, such as poor airflow or higher-than-usual energy bills.
Benefits of Cleaning Your Coils
- Improved Efficiency: Cleaning your coils makes your system more efficient, which saves you money on your utility bills.
- Enhanced Air Quality: Cleaning removes dust, mold, and bacteria, preventing them from circulating in your home.
- Extended System Life: Reduced strain on the system’s components helps prevent wear and tear, extending its lifespan.
- Consistent Comfort: A clean system maintains more stable and even temperatures throughout your home.
Signs Your Coils Need a Cleaning
Are your coils dirty? Here are some clear signs that it’s time to clean them:
- Poor Airflow: If you notice weak or inconsistent airflow from your vents, it could be due to a blockage on the coils.
- Musty Odors: A musty or foul smell when your system is running often indicates mold or mildew buildup on the coils.
- Reduced Cooling: If your home feels warmer than it should, your dirty coils may not be able to cool the air effectively.
- Ice Formation: If you see ice on the refrigerant lines or indoor evaporator coil, it is a key indicator of a severe airflow problem.
Cleaning the HVAC Coil
Before you begin cleaning the HVAC coil, safety is the top priority. Always take a few moments to gather your supplies and follow key safety precautions.
Safety Precautions
- Always turn off the power to your HVAC unit at the circuit breaker. Never rely on the thermostat alone.
- Use safety glasses to protect your eyes from chemicals and debris. Wear sturdy gloves to protect your hands from cleaners and the sharp fins of the coils.
- Use only cleaners specifically designed for HVAC coils. Never mix different products.
- Use a garden hose with a gentle setting. High-pressure water can easily bend the delicate coil fins.
Essential Tools and Supplies
You’ll need a few key items to get the job done right:
- Coil Cleaner: A foaming, non-acidic HVAC coil cleaner is best.
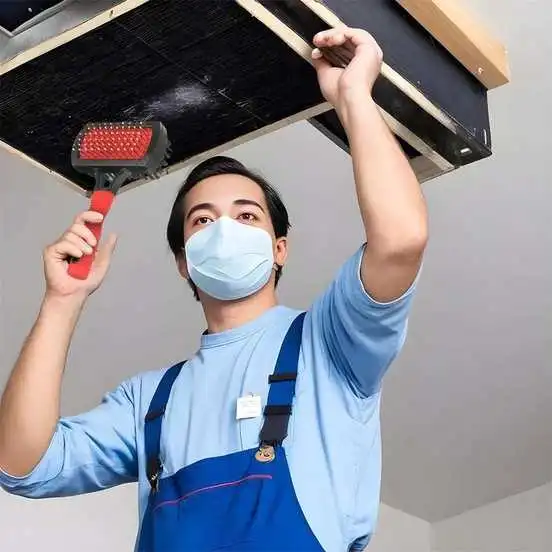
- Soft Brush: For gently scrubbing away loose dirt.
- Fin Comb: This specialized tool helps straighten bent fins to improve airflow.
- Vacuum with Brush Attachment: For removing loose debris before you start the wet cleaning process.
- Garden Hose with Sprayer: For rinsing the coils.
- Screwdriver/Nut Driver: To remove the unit’s access panels.
The Step-by-Step Cleaning Process
Follow these steps to safely and effectively clean your HVAC coils without causing damage.
1. Prepare the Unit
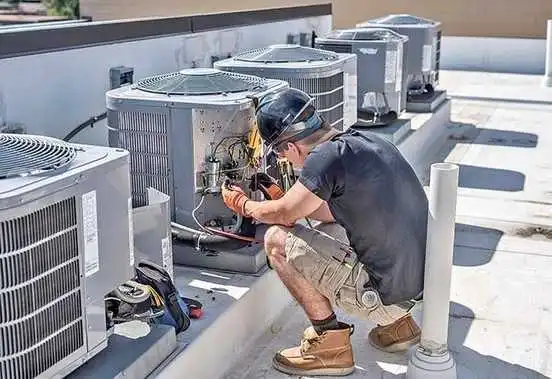
- Remove Debris: For the outdoor unit, clear away any plants, leaves, or other debris from around the condenser.
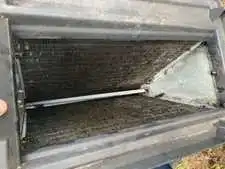
- Access the Coils: Use a screwdriver or nut driver to carefully remove the access panels or grille that cover the coils. For indoor units, locate the evaporator coil, often found in the air handler.
- Vacuum: Use a shop vacuum with a brush attachment to gently remove any loose, dry dirt or lint from the coils and surrounding areas.
2. Apply Cleaner
- Choose Your Cleaner: Use a commercial, non-acidic foaming coil cleaner.
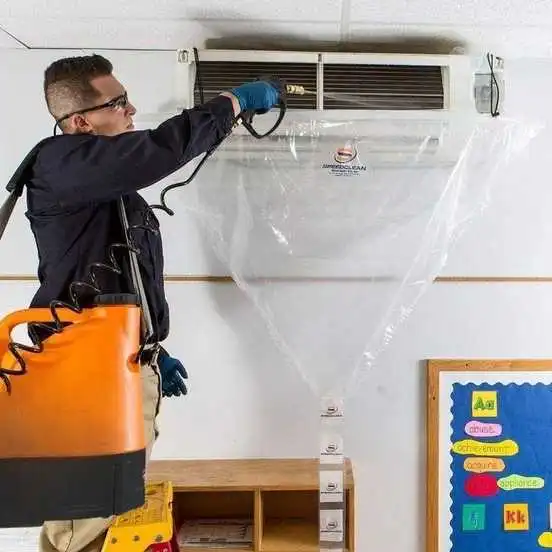
- Spray the Coils: Cover all coil surfaces before applying the cleaner. For the indoor evaporator coil, you’ll spray the cleaner onto the fins. For the outdoor condenser coil, you’ll typically spray from the inside out to push dirt through the fins.
- Wait: Allow the cleaner to sit and work for the time recommended on the product label (usually 10-15 minutes). The foam will help lift and dissolve the dirt.
3. Rinse and Dry
- Rinse Gently: Use a garden hose with a low-pressure sprayer (a fan or shower setting works best) to rinse the coils. Rinse the outdoor unit from the inside out to flush away debris. For the indoor unit, the cleaner and water will drain away through the condensation line.
- Allow to Dry: Ensure the coils and surrounding components are completely dry before you reassemble the unit.
4. Final Steps
- Reassemble: Carefully replace the access panels and secure them with the screws.
- Restore Power: Flip the circuit breaker back on to restore power to your system.
Maintenance and Prevention
Regular upkeep is the best way to keep your coils clean and prevent future issues.
- Replace Air Filters: A dirty filter is the number one cause of dirty evaporator coils. Replace or clean your air filter every one to three months.
- Maintain the Outdoor Unit: Keep the area around your outdoor condenser unit clear of leaves, grass clippings, and other debris that can be sucked into the coils. Trim back any plants or shrubs. Aim to clean your coils at least once a year.
- Schedule Professional Tune-Ups: A technician can perform a deep cleaning of the coils and other components, ensuring your system runs at peak performance.
Conclusion
By making this a regular part of your home maintenance routine, you’ll ensure your HVAC system operates efficiently and keeps your home comfortable for years to come.