


Building your bookshelf is a fun and useful project if you’ve ever thought, “I need a better way to store these,” after looking at your expanding library. It allows you to exercise your creativity and provides a personalized storage solution. With helpful examples and tips to help you personalize it, we’ll walk you through creating a do-it-yourself bookshelf in this blog article.
Materials You’ll Need:
- Wooden planks (pine, oak, or plywood work well)
- Screws and nails
- Sandpaper (medium and fine grit)
- Wood glue
- Paint, stain, or varnish (optional)
- Measuring tape
- Saw (hand saw or electric)
- Drill and screwdriver
- Level
Step 1: Create a Design for Your Bookshelf
- Spend some time planning before you begin drilling and sawing. Think about it: the area where the bookshelf will be placed should be measured. Depending on your requirements, choose height, width, and depth. Are you looking for a traditional rectangular bookshelf or something more unusual, such as a ladder-style or tree-shaped design? Consider the quantity and size of books you plan to store, as well as any ornamental objects you wish to exhibit.
Step 2: Collect Your Equipment and Supplies
- After your idea has been sketched out, collect all necessary supplies and equipment. A straightforward rectangular bookcase with two or three shelves is an excellent starting point for novices.
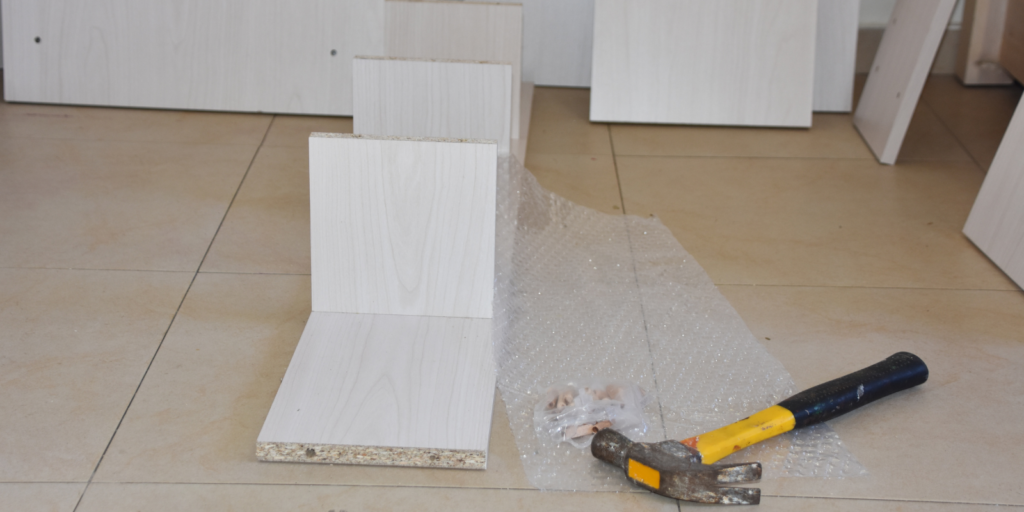
Step 3: Sand the wood and cut it
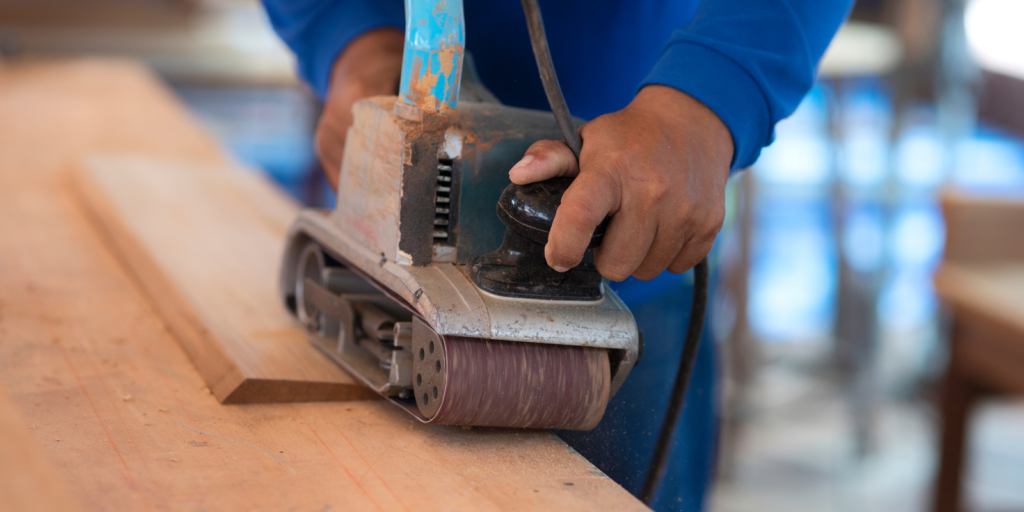
- Cut the wooden boards to the appropriate size using your measurements. To guarantee a flawless finish and get rid of splinters, properly sand each piece. For a polished surface, start with medium-grit sandpaper and work your way up to fine-grit.
Step 4: Put the Frame Together
- To create the sides, top, bottom, and shelves, arrange the boards. For further stability, apply wood glue to the joints, then fasten them with screws or nails. Before tightening the screws, make sure everything is level.
Step 5: Include Shelves
- Inside the frame, mark the locations of the shelves. To make sure they are straight, use a level. Use brackets or screws to fasten the shelves to the wall.
Step 6: Complete Your Bookcase
- Here’s where ingenuity is useful: Apply a wood stain for a more organic appearance or paint your bookshelf a color that goes well with your space. For a customized look, apply wallpaper, decals, or stencils to the rear panel. Try using asymmetrical patterns or diagonal shelving for a more contemporary look.
Success Advice:
- Double check all dimensions before cutting.
- To guarantee durability, spend money on high-quality wood and equipment.
- To get a polished look, take your time while sanding and polishing.
What to Do If You Are Not Able to Build It Yourself?
Not everyone has the time or means to build a bookcase from the ground up, and that’s okay. Here’s an additional tactic:
Hire a Carpenter: Provide your design and measurements to a skilled carpenter. They will create the structure for you, ensuring its durability and quality. When the bookshelf is completed, you can still add your touch by painting it a unique color or pattern. Adding your design elements still makes it a do-it-yourself project, even while it displays your originality and sense of style.
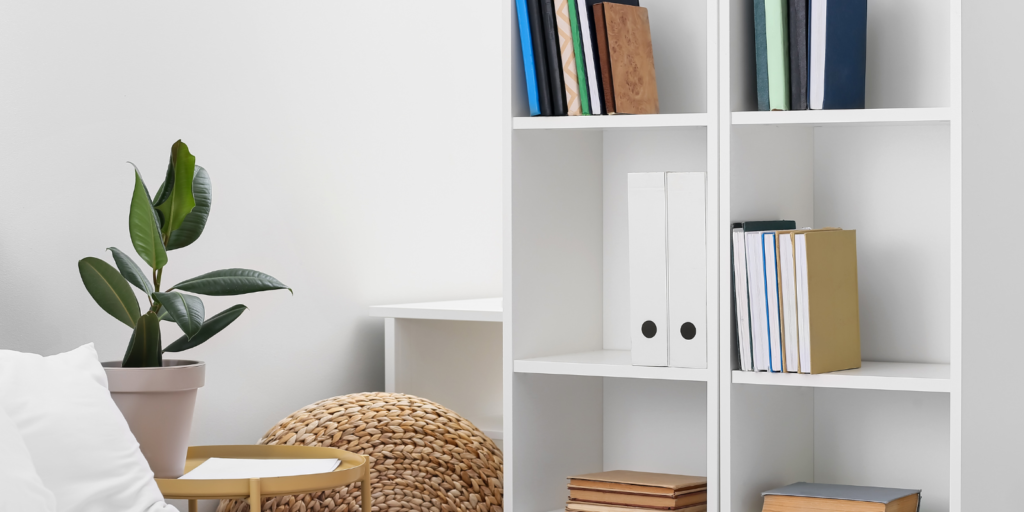
Why build a DIY bookshelf?
Building your bookcase isn’t only a way to save money. It’s an opportunity to create something beautiful and functional that complements your style and the space you have available. You’ll also enjoy the satisfaction of saying, “I made that!” every time you see your completed project.
Are you ready to start? Make your bookshelf by gathering your materials and letting your creativity run wild. Please share your results and opinions in the comments area; we would love to see what you have created!