


Transform your bedroom into a functional, stylish, and organized space with a walk-in closet you can build yourself. This guide provides clear, actionable steps, measurements, and tips, making it easy for beginners and DIY enthusiasts. This guide walks you through every step, from planning to construction, while ensuring safety, stability, and functionality.
Step 1: Plan Your Walk-in Closet
Before starting, define your closet goals:
- Purpose: Will it be shared or for a single user?
- Storage Needs: Hanging rods, shelves, drawers, or shoe racks.
- Style: Modern, rustic, minimalist, or custom design.
Sketch your ideas or use online tools to map your space. Consider ease of access and the types of clothing and accessories you will store.
Step 2: Measure and Layout
Accurate measurements ensure a functional closet. When planning your walk-in closet, pay attention to aisle width, rod heights, and shelf or drawer depths:
- Aisle Width: Ensure the aisle provides sufficient space to move comfortably, with a minimum of 24 inches (61 cm), ideally between 30 and 36 inches (76–91 cm).
- Rod Heights: Hanging rods should be installed at standard heights for easy access: shirts around 107 cm (42 inches), pants/trousers about 122 cm (48 inches), and dresses or coats approximately 168 cm (66 inches).
- Shelf Depth: Shelves should be 30–36 cm (12–14 inches) deep to accommodate folded clothes and accessories, while drawers can range from 15–30 cm (6–12 inches) deep depending on what you plan to store.
- Overall Space: Finally, measure the full space, including walls, ceiling height, and the placement of doors or windows, to ensure your design fits perfectly.
Write down dimensions for each element and create a scaled drawing for reference.
Step 3: Choose Materials and Tools
Pick materials based on durability and budget:
- Plywood: Strong, versatile, takes paint or stain well.
- Medium-Density Fiberboard (MDF): Smooth surface, inexpensive, ideal for painted finishes; heavy, may sag if unsupported.
- Melamine/Particle Board: Pre-finished, easy to clean, cost-effective, and less durable.
Essential Tools: To complete your project, you will need a drill, screws, a level, a stud finder, a saw, measuring tape, clamps, a screwdriver, and a nail gun (optionally) for faster assembly.
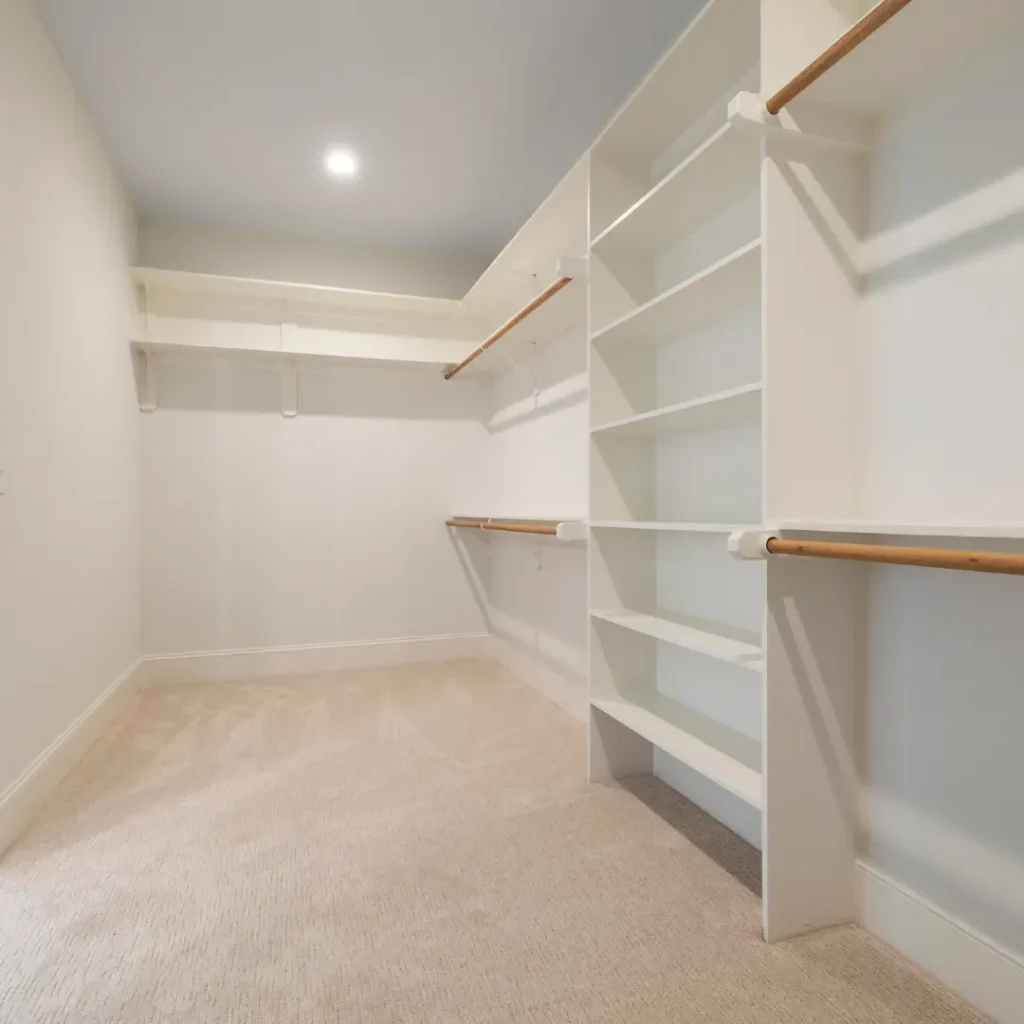
Step 4: Build the Framework
The framework is the backbone of your closet:
- Locate Wall Studs: Use a stud finder or tap along the wall to find studs. Mark with a pencil.
- Install Base Cleats: Use wooden cleats, such as 25 mm × 50 mm or 50 mm × 100 mm, depending on what’s available locally, and attach them horizontally along the wall at the height of your bottom shelf. Make sure to secure the cleats directly into the wall studs using screws that are appropriate for your wall type. These cleats will provide a stable foundation for your shelving and closet framework.
- Mount Vertical Supports (Standards): Attach the vertical panels or cleats along your wall at intervals of 40–60 cm, depending on the spacing you need for shelves and rods. Use a level to ensure that each vertical support is perfectly plumb, as this will keep your shelves, drawers, and hanging rods straight and stable.
- Add Horizontal Supports: Once your vertical supports are in place, mark the heights for your shelves and hanging rods directly on the panels. Then, attach horizontal cleats at these marks to provide sturdy support for the shelves and rods, ensuring everything is level and securely fastened for a strong, reliable closet structure.
- Check Stability: After installing the shelves, rods, and cleats, apply gentle pressure to check that everything is solid and stable. If you notice any wobbling or gaps, tighten the screws or add extra supports as needed to ensure the entire structure is secure and ready for use.
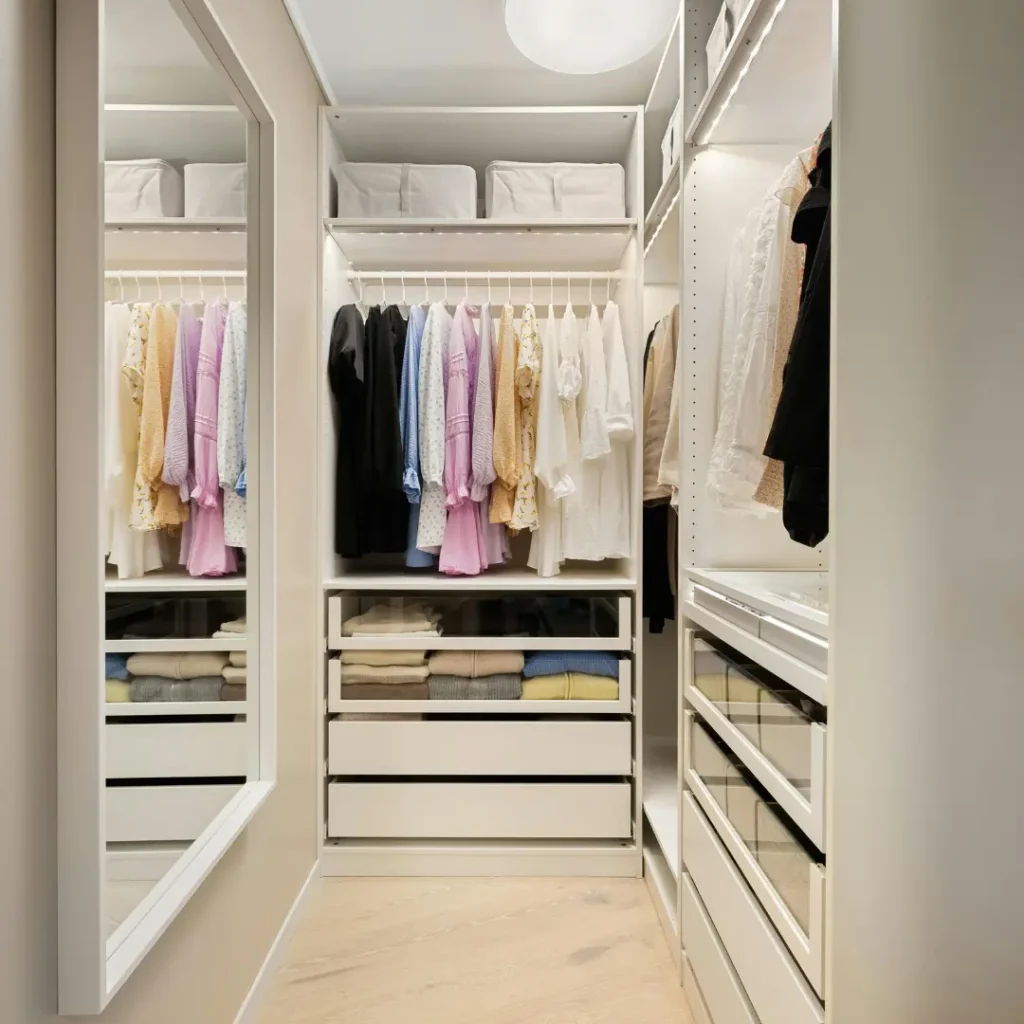
Step 5: Install Shelves, Rods, and Storage
- Shelves: Cut and place shelves on horizontal supports. Adjustable brackets allow flexibility.
- Hanging Rods: Install rods at the pre-measured heights. Ensure they are level and fully supported.
- Drawers and Storage Bins: Slide-in or mount drawers and cubbies, checking for smooth operation.
- Final Adjustments: Confirm all elements are secure and level before finishing.
Step 6: Install Lighting and Electrical
Proper lighting makes your closet functional and comfortable:
- Plan Lighting Layout: Decide where LED strips, recessed lights, or ceiling fixtures will go, focusing on shelves, hanging rods, and corners.
- Check Power Source: Locate a nearby outlet. If none exists, plan wiring or hire a licensed electrician.
- Install Fixtures: When installing lighting fixtures, start with LED strips by measuring and cutting them to the desired length, then attaching them along shelves or walls and connecting them to a nearby power source. For recessed lights, carefully drill holes according to the size of each fixture and follow the manufacturer’s installation instructions to ensure safe and proper placement.
- Test the System: Turn on lights to check coverage; adjust placement if needed.
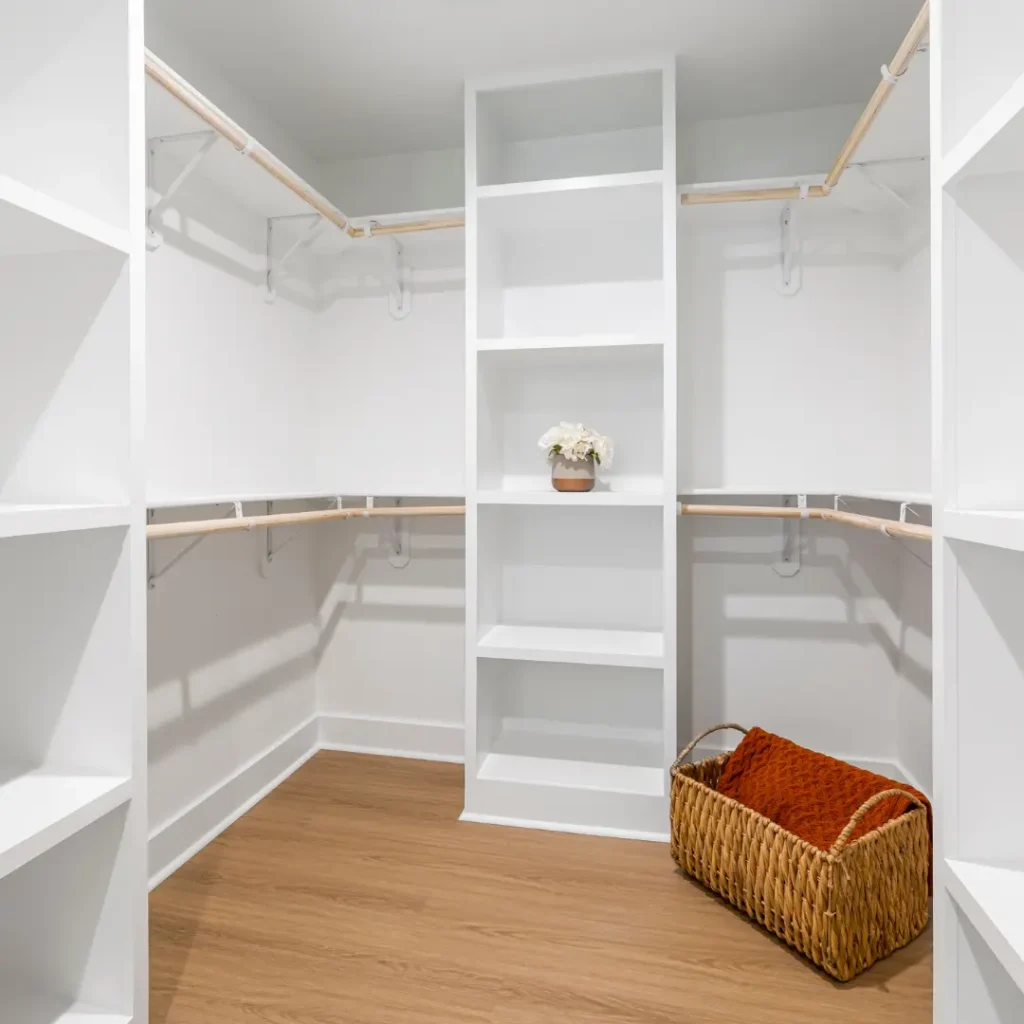
Step 7: Apply Finishing Touches
- Paint or Stain:
- Lightly sand surfaces for smoothness.
- Apply primer if painting.
- Paint or stain evenly; allow full drying.
- Lightly sand surfaces for smoothness.
- Install Hardware:
- Attach knobs, pulls, or hooks on drawers, cabinets, and walls.
- Ensure screws are tight and hardware is level.
- Attach knobs, pulls, or hooks on drawers, cabinets, and walls.
- Organize Items:
- Hang clothes on rods, fold items on shelves, and place shoes and accessories in designated areas.
- Use bins or cubbies for smaller items like scarves or belts.
- Hang clothes on rods, fold items on shelves, and place shoes and accessories in designated areas.
Tip: Place frequently used items at eye level or within easy reach for convenience.
Step 8: Safety and Ergonomics
- Maintain adequate aisle space for comfort and accessibility.
- Do not overload shelves; ensure proper cleat support.
- Use safe, rated electrical components and follow instructions.
Conclusion
By following these steps, measuring carefully, choosing the right materials, building a strong framework, and finishing with lighting and hardware, you’ll create a closet that is both practical and beautiful. Take action today, follow the guide step by step, and enjoy your dream walk-in closet!