


Many parents clean their baby’s bottles after every feed, but the device that warms those bottles also deserves attention. Even if bottles are spotless, the bottle warmer itself can harbor bacteria, mold, and mineral deposits inside its water reservoir, heating chamber, or removable parts. These contaminants can transfer into the milk during the heating process, posing a risk to the baby’s health. Keeping the bottle warmer clean and sanitized prevents contamination, preserves efficiency, and prolongs the appliance’s lifespan.
Before You Start Cleaning
Bottle warmers often feature a combination of plastic and stainless-steel components. Vinegar is generally safe for stainless steel, while plastic parts should be washed only with a mild detergent. Abrasive tools or harsh chemicals should be avoided near heating elements to prevent surface damage. Always follow the manufacturer’s care recommendations for the best results.
Step-by-Step Cleaning and Sanitizing Guide
1. Unplug and Let It Cool
Always unplug the warmer and allow it to cool completely before cleaning to prevent burns or electrical hazards.
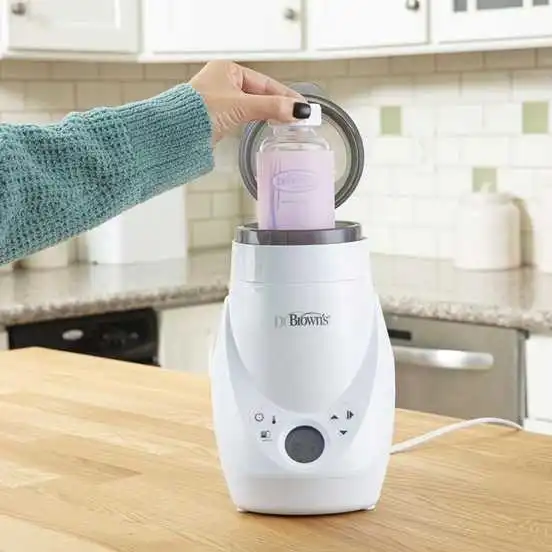
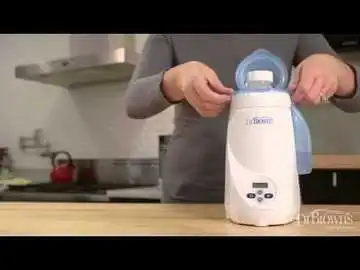
2. Disassemble Removable Parts
Detach the drip tray, bottle holder, and any other removable components. Cleaning these parts separately ensures complete sanitation.
3. Wash with Mild Soap
Use warm water and a soft cloth or sponge with mild dish soap. Daily washing helps prevent residue buildup and bacterial growth. Soak the removable parts in a mild bleach solution (1 teaspoon bleach per gallon of water) for 2–5 minutes, then rinse thoroughly with clean water. If compatible, a steam sterilizer provides a chemical-free sanitizing alternative.
4. Dry Completely
Wipe with a clean towel or allow parts to air-dry fully. Residual moisture can promote mold growth or unpleasant odors.
5. Descaling and Sanitizing the Baby Bottle Warmer Reservoir
Mix equal parts white vinegar and water, and pour the solution into the bottle warmer reservoir. Run a full heating cycle to allow heat to assist in descaling and sanitizing.
Let the solution sit for at least 30 minutes, then discard and rinse thoroughly.
This process should be performed every 2–4 weeks, depending on usage frequency and water hardness. If the warmer stops heating properly, mineral buildup may be affecting the heating element. Regular descaling helps maintain performance and prevents malfunction.
Maintenance Practice For Built-in Bottle Warmer Reservoir
- After each use, pour out any remaining water to keep the reservoir clean and fresh.
- Refill only to the recommended level to avoid spills or overflow.
- Wipe the exterior daily to maintain overall hygiene.
- Inspect for buildup, residue, or discoloration weekly.
- Maintain a consistent cleaning routine for reliable sanitation.
Conclusion
Cleaning and sanitizing a baby’s bottle warmer are a simple but essential part of maintaining hygiene.