


Looking to upgrade your bathroom? A new showerhead is one of the easiest and most affordable ways to refresh your space instantly. This simple DIY project can dramatically enhance your water pressure, save you money on water bills, and upgrade your shower
With just a few basic tools and about 30 minutes, you can swap out that old, tired fixture for a shiny new one without calling in a plumber. This guide will walk you through the entire process, step by step, ensuring a smooth and successful installation.
Why You Should Change Your Showerhead
Beyond a simple aesthetic update, changing your showerhead offers several practical benefits:
- Improved Water Pressure: Older showerheads can become clogged with mineral deposits over time, leading to weak water flow. A new head can restore and even boost your water pressure for a more powerful, refreshing rinse.
- Water and Money Savings: Many modern showerheads are designed with eco-friendly, low-flow technology. They use less water per minute without sacrificing pressure, resulting in significant savings on your water bill.
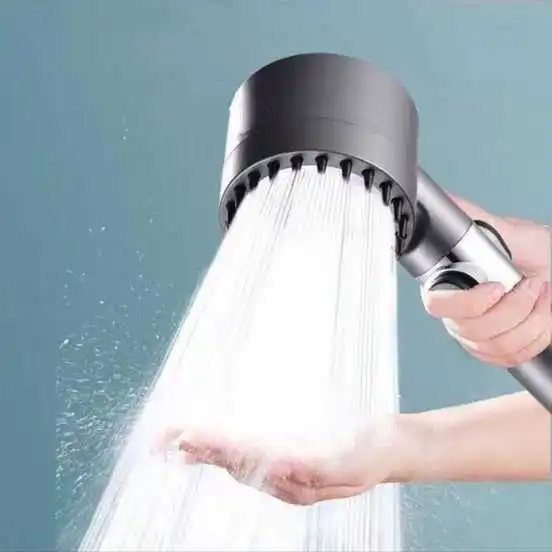
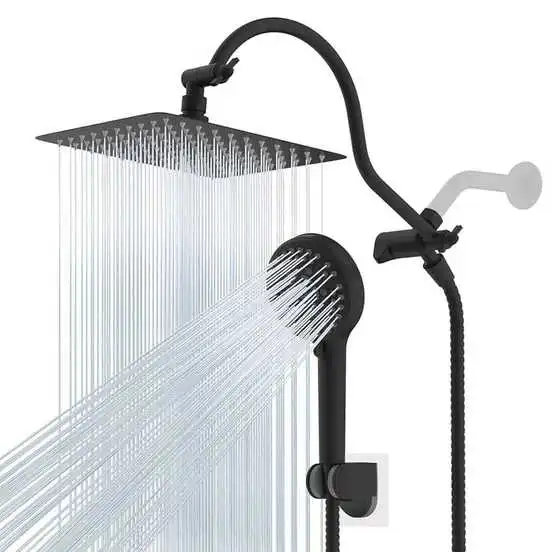
- Enhanced Experience: A new showerhead can transform your daily routine from a chore into a relaxing experience. With options like multiple spray settings, massage functions, or rain-style streams, you can customize your shower to feel like a spa.
What You’ll Need
Before you begin, gather all the necessary supplies to make the job go smoothly. Having everything on hand will prevent unnecessary trips to the hardware store and keep the project moving.
- New showerhead: Choose a model that fits your needs, whether it’s a water-saving, high-pressure, or rain-style head.
- Adjustable wrench or pliers: For gripping and loosening a stuck old showerhead.
- Plumber’s tape (Teflon tape): This is essential for creating a watertight seal and preventing leaks.
- A soft cloth or rag: For protecting the finish of your shower arm from scratches.
- An old towel or bucket: To catch any residual water from the pipes.
Step-by-Step Guide to Replacing Your Showerhead
Step 1: Turn Off the Water Supply
While it may seem unnecessary, it’s a crucial first step to prevent a mess. For most showers, simply ensure the taps are fully turned off. You usually don’t need to shut off the main water supply to your home.
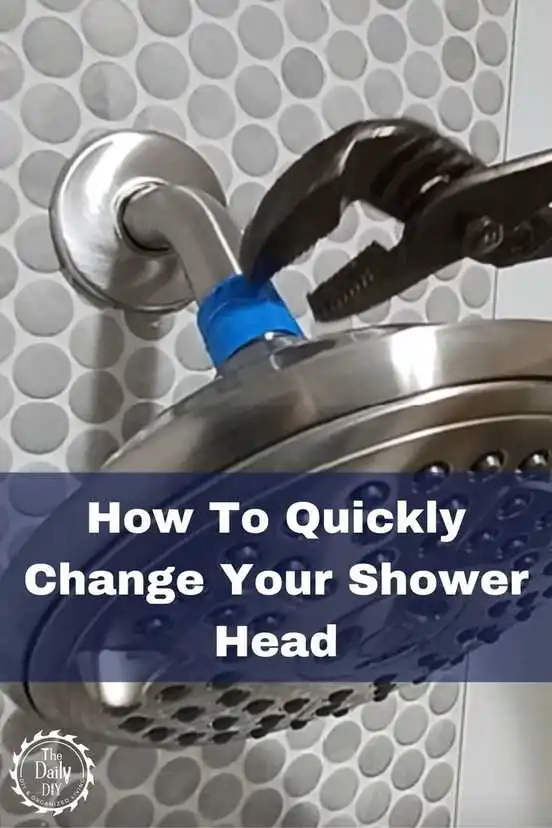
Step 2: Remove the Old Showerhead
Gently twist the existing showerhead counterclockwise to unscrew it from the shower arm. If it’s stuck, wrap a soft cloth around the shower arm to protect it, then use an adjustable wrench or pliers to loosen the connection. Be prepared for a small amount of water to drip out, so have your towel or bucket ready to catch it.
Step 3: Clean the Shower Arm Threads
Once the old showerhead is off, take a moment to clean the threads on the end of the shower arm. Use a cloth to remove any built-up residue, rust, or old plumber’s tape. A clean surface is key to a tight, leak-proof seal.
Step 4: Apply Plumber’s Tape
This step is critical for preventing leaks. Wrap the plumber’s tape around the threads of the shower arm in a clockwise direction. Apply enough tape to cover all the threads evenly, typically two to three wraps. Wrapping it clockwise ensures the tape won’t unravel as you tighten the new showerhead.
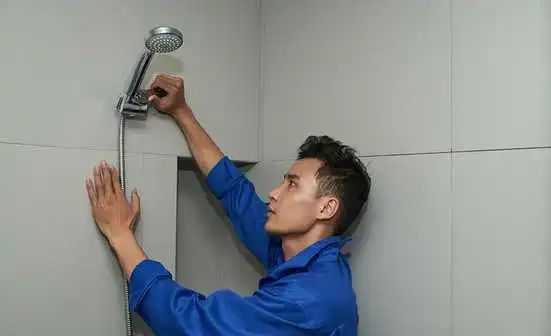
Step 5: Install the New Showerhead
Now for the fun part! Screw the new showerhead onto the shower arm by turning it clockwise. Hand-tighten the fixture until it feels snug. If needed, give it a final quarter-turn with your wrench, using a cloth to protect the finish. Be careful not to overtighten, as this can damage the new showerhead or the shower arm.
Step 6: Test for Leaks
Slowly turn the water back on and check the new connection for any leaks or drips. If you see any, gently tighten the showerhead a bit more. If the leak persists, reapply the plumber’s tape, ensuring even coverage. Once everything is secure and leak-free, you’re done!
Tips for a Seamless Installation
- Choose the right showerhead for you. Consider your personal preferences and water pressure needs. Options range from standard fixed heads to handheld models and even ones with built-in filtration.
- Regularly clean your showerhead. To maintain optimal performance, periodically clean your showerhead to prevent mineral buildup. A simple soak in a solution of equal parts white vinegar and water can keep it working like new.
- Don’t be afraid to ask for help. While this is a straightforward DIY project, it’s important to know your limits. If you encounter any persistent leaks or issues, consulting a professional plumber is always a good idea.
Conclusion
Learning how to change a showerhead is a rewarding and simple home improvement project. With these steps, you can enjoy a revitalized, more efficient, and stylish shower in no time.